
How To
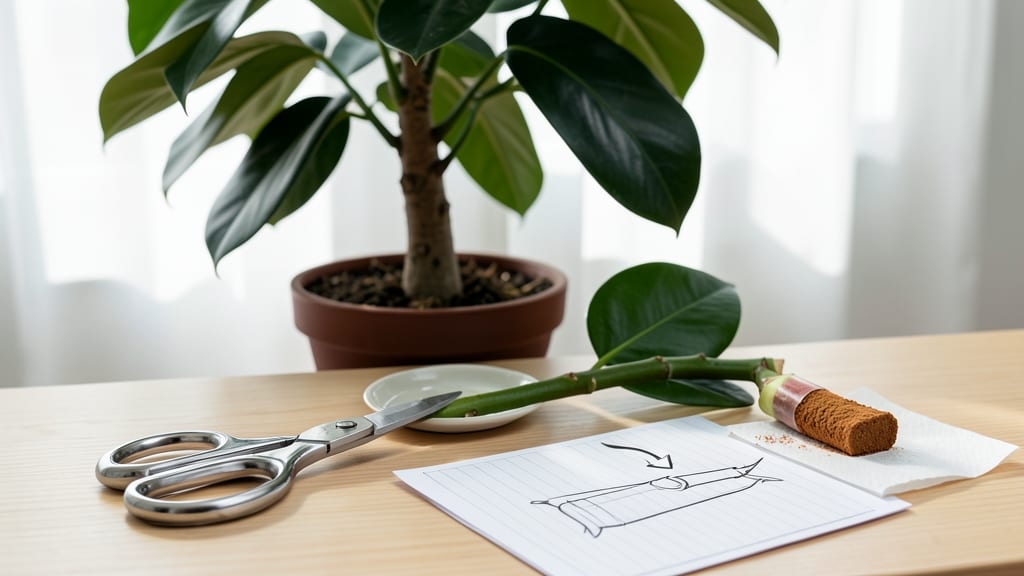
My rubber tree was shooting up like a skyscraper—until I learned how to stop it growing too tall with the secret to precision pruning for compact growth. 🌿 The key isn’t just cutting branches; it’s timing, technique, and understanding how this tropical plant responds to light and space.
One well-placed cut can transform a towering giant into a manageable, bushier plant within weeks.
Start by trimming just above a leaf node (where leaves meet the stem) to encourage branching. Use clean, sharp pruners to avoid tearing, and wear gloves—the sap can stain.
For dramatic height control, cut back to about a third of the plant’s height, but never remove more than that at once. The result? A fuller, slower-growing rubber tree that stays within your space—no more ceiling scraping!
📚 In This Guide
- What you need
- Instructions
- Tips and common mistakes
- Wrapping up and next steps
What you need
- ● Pruning shears or bypass pruners – Choose sharp, sterilized shears with a 4- to 6-inch blade for clean cuts. (Avoid dull tools—they crush stems instead of cutting cleanly!)
- ● Garden gloves – Opt for nitrile-coated gloves (size medium/large) to protect against latex sap and sharp edges.
- ● Rubbing alcohol (70% or higher) or hydrogen peroxide (3%) – A small spray bottle or cotton swabs for sterilizing tools between cuts.
- ○ Disposable pruning bags or bucket – A 5-gallon capacity to collect trimmings (optional but helpful for composting or disposal).
- ● Ladder or step stool – Ensure it’s stable and tall enough to reach the highest branches safely.
- ● Sharpie or permanent marker – For marking 1/4-inch above a leaf node (where new growth will sprout).
- ● Root pruning knife – If you’re also trimming roots, a sturdy, 6-inch garden knife works best.
- ● Plant hormone gel (e.g., rooting hormone) – Useful if you’re propagating cuttings (apply to freshly cut stems).
- ● Lightweight tarp or drop cloth – Protects floors from sap and debris during cleanup.
- ● Hose with nozzle – For rinsing tools and cleaning up sap spills post-pruning.
- ● ✅ Choose the right time: Prune in spring or early summer (avoid winter—it stresses the plant!).
- ● ✅ Water the tree 1–2 days prior: Well-hydrated plants heal faster and reduce shock.
- ● ✅ Clear the workspace: Remove nearby furniture, pets, or obstacles within a 3-foot radius of the tree.
- ● ✅ Wear long sleeves and closed-toe shoes: Latex sap can irritate skin (though most people aren’t allergic).
How to prune a rubber tree for controlled height
Here’s how to tame your towering rubber plant without stressing the foliage—just a few strategic cuts and proper timing.
✂️ Step 1: Choose the Right Time for Pruning
Spring is your best window—right as new growth begins but before the plant explodes with energy. Avoid pruning in winter, when the tree is dormant, or in late summer, when it’s already pushing hard to prepare for dormancy. You’ll know it’s time when you see fresh, bright green leaves emerging along the stems.
If you missed spring, early summer works too, but avoid heavy pruning after July. The goal is to shape the tree while it’s actively growing but before it sets too much new wood. A quick check: gently pinch a leaf—if it snaps cleanly (not mushy), the plant’s ready for pruning.
✂️ Step 2: Select and Trim the Right Branches
Focus on the topmost branches first—they’re the fastest-growing and contribute most to the height problem. Use clean, sharp pruning shears to cut just above a leaf node (the bump where leaves attach). This encourages new growth from that spot, keeping the tree bushier.
Don’t cut back more than one-third of the plant’s height at once. For a 6-foot rubber tree, aim to reduce it by 12–18 inches in one session. If you go too aggressive, the tree may struggle to recover and could develop weak, leggy growth. Watch for the sap—rubber tree sap is milky and sticky, so wear gloves if you’re sensitive to latex.
☀️ Step 3: Encourage Bushier Growth with Light Adjustments
After pruning, move the tree to a spot with bright, indirect light for a few weeks. Too much direct sun stresses newly cut branches, while too little light weakens the recovery process. You’ll see new shoots forming within 4–6 weeks—these are your bushy replacements for the old height.
Rotate the pot a quarter turn weekly so all sides get even light. This prevents the tree from leaning toward the window. If you notice new growth stretching toward the light (called "etiolation"), it’s time to move the tree closer to the light source or add a grow light for 12–14 hours daily.
🪴 Step 4: Repot and Fertilize for Strong Recovery
If your rubber tree is root-bound (roots circling the pot), repot it into a container 2–3 inches wider than its current home. Use fresh well-draining potting mix and water thoroughly after repotting. The extra space helps the roots support the new growth you’re encouraging.
Fertilize lightly with a balanced liquid fertilizer (10-10-10) diluted to half-strength, applied every 4–6 weeks during the growing season. Over-fertilizing now can burn the roots, which are already adjusting to pruning. You’ll know it’s working when the new leaves are a vibrant green and the tree feels sturdy when you gently shake it.
⏰ Step 5: Maintain Height with Regular Trimming
Once you’ve shaped the tree, keep it compact with quarterly light trims—just enough to remove leggy growth or encourage fullness. Prune again in spring to remove any awkward branches or to adjust the shape. Avoid heavy pruning in fall or winter, as the tree needs time to harden off before dormancy.
Here’s the thing—rubber trees respond well to pruning, but they’re patient. If you’ve let it grow too tall, don’t expect instant results. With consistent care, you’ll see a noticeably shorter, bushier tree in 6–12 months. The key is persistence: a little trim now and then keeps it manageable without stressing the plant.
Tips & tricks for controlling rubber tree height
These simple strategies will help you maintain a compact, healthy rubber tree without sacrificing its natural beauty.
Timing is Everything: The spring window is your best bet for pruning, but if you miss it, early summer still works—just avoid heavy cuts after July. I learned this the hard way after over-pruning in August, which left my tree looking stressed and stunted. Watch for those fresh, bright green leaves emerging along the stems; that’s your cue the tree’s ready for shaping. The goal is to catch it while it’s actively growing but before it sets too much new wood.
Precision Cutting Technique: When you’re trimming those topmost branches in Step 2, aim to cut just above a leaf node—this little bump where leaves attach. It might seem insignificant, but this small detail encourages new growth from that exact spot, keeping your tree bushier. And remember, never cut back more than one-third of the plant’s height at once. For a 6-foot rubber tree, that’s a 12–18 inch reduction max. I once cut back too much and ended up with a leggy, sad-looking plant for months.
Light Management After Pruning: After you’ve done your trimming, move your tree to bright, indirect light for a few weeks. Too much direct sun stresses the newly cut branches, while too little light weakens the recovery process. You’ll start seeing new shoots forming within 4–6 weeks—these are your bushy replacements for the old height. Rotate the pot a quarter turn weekly to keep all sides getting even light. If you notice new growth stretching toward the light (that’s called etiolation), it’s time to adjust its position or add a grow light for 12–14 hours daily.
Recovery Care Tips: If your rubber tree is root-bound, repot it into a container that’s just 2–3 inches wider than its current home. Use fresh, well-draining potting mix and water thoroughly after repotting. The extra space helps the roots support that new growth you’re encouraging. And when it comes to fertilizing, go light—use a balanced liquid fertilizer (10-10-10) diluted to half-strength, applied every 4–6 weeks during the growing season. Over-fertilizing now can actually burn the roots, which are already adjusting to pruning.
Pro Tips for Stop Rubber Tree Growing Too Tall
- These simple strategies will help you maintain a compact, healthy rubber tree without sacrificing its natural beauty.
- Timing is Everything: The spring window is your best bet for pruning, but if you miss it, early summer still works—ju...
- Precision Cutting Technique: When you’re trimming those topmost branches in Step 2, aim to cut just above a leaf node...
Frequently asked questions
Got questions about keeping your rubber tree at a manageable height?
You’re not alone! Here are some of the most common concerns—and straightforward answers—to help you prune with confidence.
How often should I prune my rubber tree to control its height?
Prune your rubber tree once every 6–12 months, depending on growth speed. Fast-growing trees may need trimming twice a year (spring and summer), while slower varieties can wait longer. Always prune after a growth spurt for the cleanest results and minimal stress on the plant.
Will pruning stunt my rubber tree permanently?
No—pruning won’t permanently stunt growth, but it will encourage a bushier, fuller shape over time. Rubber trees are resilient and will regrow leaves and branches after pruning. Focus on consistent, light trims rather than drastic cuts to maintain a compact form without sacrificing health.
Can I prune my rubber tree too much?
Yes! Over-pruning (cutting more than 1/3 of the foliage at once) can weaken the tree, stress it, or even lead to disease. Stick to selective trimming—remove only the tallest stems or leggy branches—and avoid heavy pruning during winter. If you’ve already overdone it, give your tree time to recover with extra water and indirect light.
What’s the best time of year to prune for compact growth?
The ideal window is late spring or early summer, when the tree is actively growing. This timing ensures quick recovery and minimizes the risk of frost damage (if you’re in a colder climate). Avoid pruning in fall or winter, as the tree’s energy is focused on survival, not regrowth.
Can I use rubber tree prunings for propagation?
Stem cuttings
from pruned branches can root easily in water or soil. Choose healthy, 4–6 inch sections with at least one leaf node. Place them in water or moist potting mix, and keep them in bright, indirect light. New roots typically form in 4–8 weeks—a great way to grow more rubber trees!
What if my rubber tree keeps growing tall after pruning?
If your tree rebounds with new tall shoots, it may need more frequent pruning or a different approach. Try pinching back the tips of new growth (using your fingers or small scissors) to encourage bushier growth. Also, check its light exposure—too much sun can fuel rapid vertical growth, so adjust placement if needed.
Wrapping up and next steps
Stopping your rubber tree from towering over your space doesn’t have to be a challenge—just a little patience and precision!
With the right tools, timing, and techniques, you can guide its growth into a manageable, lush shape while keeping it healthy and thriving. Start small, observe your tree’s response, and soon you’ll have a perfectly sized green companion that fits your home beautifully.
Now that you’re armed with the know-how, go ahead and give it a try! Grab your pruning shears, pick a sunny day, and enjoy the process. Happy pruning—and happy growing! 🌿✨