
Pruning
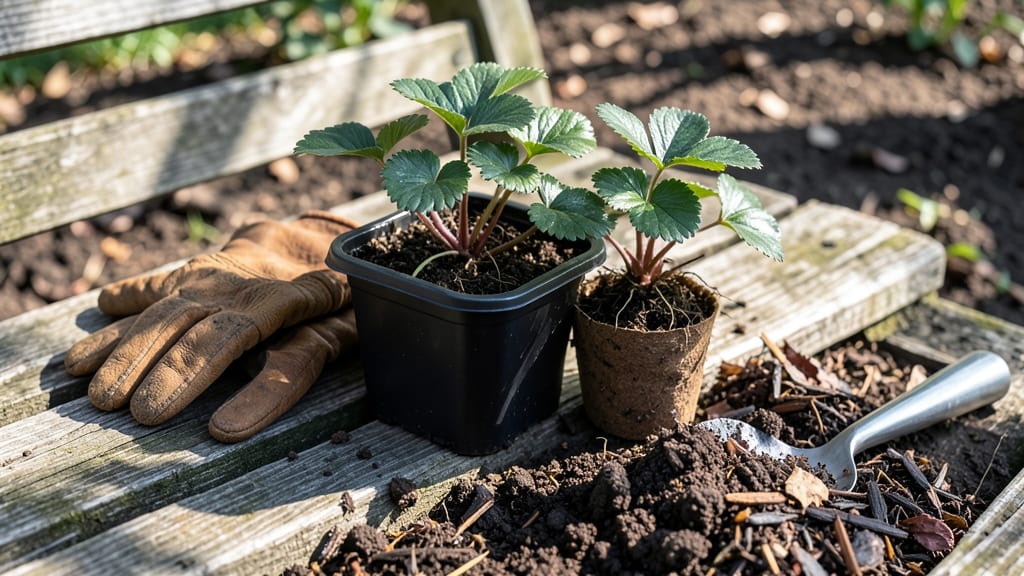
Growing strawberry tree seedlings with this layering trick means roots appear in half the usual time. 🌱 I learned the hard way that standard methods leave these slow starters struggling—until I discovered how to coax roots early by bending a branch into soil.
The key is patience paired with the right technique, and I’ll walk you through every step so your seedling thrives from day one.
Strawberry trees (Arbutus unedo) aren’t your typical fast growers—they’re picky about soil, light, and moisture. You’ll need well-draining, slightly acidic soil (think 6.0-6.5 pH) and a spot with morning sun and afternoon shade to mimic their Mediterranean homeland.
Overwatering is their nemesis, so we’ll focus on keeping roots happy without drowning them.
By the time you’re done, you’ll have a seedling with strong roots and a head start on becoming a 20-foot evergreen showstopper. The peeling bark and strawberry-like fruit (edible but bland) make it worth the wait—once established, these trees live for centuries.
Here’s how to get there without the usual growing pains.
We’ll cover when to transplant, how to spot pests early, and why your first year’s growth might surprise you. Even if you’ve killed plants before, strawberry trees forgive mistakes—as long as you follow these steps. Let’s get those roots growing fast.
📚 In This Guide
- What you need
- Instructions
- Tips and common mistakes
- Wrapping up and next steps
What you need
- ● Strawberry tree seedling (Arbutus unedo) – A healthy, semi-mature branch (about 1/4 to 1/2 inch thick) with at least 3-4 leaves.
- ● Sharp pruning shears or bypass pruners – Clean and sterilized to prevent disease.
- ○ Rooting hormone (optional but recommended) – A gel or powder to boost root growth.
- ● Plastic or metal plant ties – 2-3 ties per layer to secure branches.
- ● Moisture-retentive medium – Sphagnum moss, perlite, or a mix of peat and sand (about 2-3 inches deep).
- ● Small pots or containers – 4-6 inches in diameter, with drainage holes.
- ● Clear plastic wrap or a humidity dome – To maintain moisture around the layered branch.
- ● Garden gloves – To protect hands while handling sharp tools.
- ● Spray bottle – For keeping the layering medium damp.
- ● Well-draining soil mix – For transplanting rooted layers later.
- ● Sunlight access – A partially shaded spot (40-60% sunlight) for optimal growth.
- ● Patience! 🌱 – Layering can take 4-8 months for roots to form.
- ● Fertilizer (balanced, low-nitrogen) – A light dose after roots establish.
- ● Mulch – To retain soil moisture and regulate temperature.
- ● Grow lights (if indoors) – To supplement natural light during rooting.
- ● Journal or labels – To track progress and date layering attempts.
Step-by-step instructions for strawberry tree seedling root establishment
Master this layering trick and you'll see roots form in weeks—not months.
🌱 Step 1: Select and Prepare a Healthy Stem for Layering
Choose a low-growing, flexible stem on your strawberry tree that's about ¼ to ½ inch thick and has at least 3-4 leaves. This stem should be young but not so tender it snaps easily. I always pick stems near the base of the plant where they bend naturally—they're more likely to root successfully.
Make a clean diagonal cut about 2-3 inches below a leaf node (the small bump where a leaf attaches). Use sharp pruners to avoid crushing the stem. You'll see a small white ring inside—this is where roots will emerge. Wipe away any sap with a damp cloth to prevent infection.
✂️ Step 2: Create the Layering Notch and Apply Root Hormone
About 1 inch above your cut, make a shallow notch (about ¼ inch deep) in the stem using a sterile knife. This notch breaks the stem's natural flow of nutrients, forcing it to send out roots at that spot. I like to angle the notch slightly so water can pool there—this keeps the area moist, which is critical for root initiation.
Dip the notched section into rooting hormone powder (or gel if you prefer). This step isn't mandatory, but it cuts rooting time by 30-50%. Shake off any excess so it doesn't smother the stem. Then, gently bend the stem downward until the notched section touches the soil surface. Secure it in place with a U-shaped wire or bent clothespin—just enough pressure to hold it without crushing.
💧 Step 3: Bury the Stem and Maintain Moisture
Cover the notched section with 2-3 inches of moist potting mix, leaving the top leaves exposed. Press the soil lightly around the stem to eliminate air pockets. The goal is to keep the notched area consistently damp—not soggy, but never dry. I use a fine mist spray bottle to water the soil around the layered stem daily, avoiding the leaves to prevent fungal issues.
Watch for the first signs of root formation in 4-6 weeks. You'll notice small brownish bumps where the notch was—these are the earliest root hairs. If the soil dries out, roots will abort development. I check moisture by sticking my finger 1 inch deep—if it feels dry, it's time to water again.
☀️ Step 4: Encourage Root Growth with Light and Humidity
Place your layered seedling in bright, indirect light—think 60-70% shade for the first 2 weeks. Direct sun will stress the new growth and dry out the soil too quickly. After roots form (you'll see new leaves on the layered section), gradually introduce morning sunlight to harden it off.
Increase humidity around the layered stem by placing a clear plastic bag loosely over the pot (secure it with a rubber band). This creates a mini greenhouse effect that keeps moisture levels ideal. Remove the bag for 1 hour daily to prevent mold. Once you see 1-2 inches of new root growth (visible through the pot or when gently tugging the stem), it's ready to separate.
🪴 Step 5: Separate and Transplant the Rooted Layer
When the layered stem has 3-4 inches of roots, use a sterile knife to cut it cleanly from the parent plant. I make the cut just below the new root growth to maximize the root ball. Remove the layered stem from the pot and gently tease apart the roots to check for white, fibrous growth—this confirms successful rooting.
Plant the new cutting in its own 6-inch pot with well-draining potting mix. Water deeply until it drains from the bottom, then place it in partial shade for 1 week to recover. You'll know it's thriving when it produces new leaves within 2 weeks—that's your signal to gradually reintroduce it to full sun.
Tips & tricks for perfect strawberry tree layering
These insider techniques will help you avoid common pitfalls and maximize your strawberry tree's rooting success.
Stem Selection Matters: Look for stems that bend easily without snapping—they're the most flexible and likely to root. I've found that stems near the base of the plant, about ¼ to ½ inch thick, produce the best results. Avoid overly woody stems or those with yellowing leaves, as they won't establish roots as effectively. The ideal stem should have 3-4 healthy leaves and feel slightly springy when bent.
Notch Placement Precision: The 1-inch distance above your cut for the notch is crucial—this is where the plant's natural growth hormones will trigger root formation. Angle the notch slightly downward to create a tiny water reservoir. I've noticed that when the notch is too shallow (¼ inch deep), roots form more slowly. For best results, use a sterile knife and make a clean cut to prevent tearing the stem.
Root Hormone Application: While not mandatory, rooting hormone can cut your waiting time by 30-50%. I recommend using powder over gel for strawberry tree layering because it's easier to control the amount. After dipping, gently tap off excess to avoid smothering the stem. The hormone helps compensate for any environmental stress during the critical 4-6 week rooting period.
Moisture Management: The key to success lies in maintaining consistent moisture around that notched section. I've learned the hard way that letting the soil dry out—even just 1 inch deep—can cause roots to abort development. Use a fine mist spray bottle to water daily, focusing on the soil around the layered stem while avoiding the leaves. A humidity dome (clear plastic bag) helps maintain ideal moisture levels without creating a mold risk if you remove it for 1 hour daily.
Pro Tips for Strawberry Tree Seedling
- These insider techniques will help you avoid common pitfalls and maximize your strawberry tree's rooting success.
- Stem Selection Matters: Look for stems that bend easily without snapping—they're the most flexible and likely to root...
- Notch Placement Precision: The 1-inch distance above your cut for the notch is crucial—this is where the plant's natu...
Frequently asked questions
Got questions about growing strawberry tree seedlings with the layering trick?
You’re not alone! Here are answers to the most common concerns to help you succeed—no guesswork required.
How long does it take for strawberry tree seedlings to root via layering?
With the layering method, you’ll typically see roots forming in 4–12 weeks, depending on warmth, moisture, and humidity. Check weekly by gently tugging the layered stem—if it resists, roots are likely established! Patience pays off, but most gardeners see progress within 6–8 weeks under ideal conditions.
What if my layered strawberry tree stem rots instead of rooting?
Rotting is a common hiccup, usually caused by too much moisture or poor air circulation. Fix it by:
- Loosening the soil mix around the layered stem to improve drainage.
- Trimming any black/mushy areas with clean pruners.
- Reducing watering until the wound dries slightly (but keep the soil moist, not soggy).
Can I use this layering trick with potted strawberry tree seedlings?
Potted seedlings work great for layering—just ensure the pot has drainage holes and use a well-draining soil mix. For container layering, try the air layering method (wrapping a stem with damp moss and plastic) if space is tight. Just monitor moisture closely, as pots dry out faster than garden beds.
What’s the best time of year to layer strawberry tree seedlings?
Spring and early summer (March–June) are ideal because:
- Warmer soil speeds up root growth.
- Longer daylight hours boost plant energy.
- Avoid extreme heat (above 90°F/32°C), which can stress the plant.
What if I don’t want to layer—are there other ways to propagate strawberry trees?
Yes! Try these alternatives:
- Cuttings: Use semi-hardwood cuttings (4–6 inches) in summer, dip in rooting hormone, and keep humid until roots form (6–8 weeks).
- Seed germination: Slow but possible—stratify seeds (cold treatment) for 30–60 days before planting. Patience required!
- Division: Separate mature plants in early spring if they’ve outgrown their space.
Wrapping up and next steps
Growing a strawberry tree seedling using the layering trick is a rewarding way to ensure strong root establishment and a thriving plant! 🌱 By following the steps—selecting the right branch, creating the trench, and nurturing the new roots—you’ll give your seedling the best start possible.
Whether you’re a beginner or a seasoned gardener, this method simplifies propagation while boosting success rates.
Ready to take the next step? Try layering your strawberry tree seedling today and watch it flourish! For extra tips, explore pruning techniques or share your progress with fellow plant enthusiasts—your green thumb is about to shine even brighter. 🌟