
Pruning
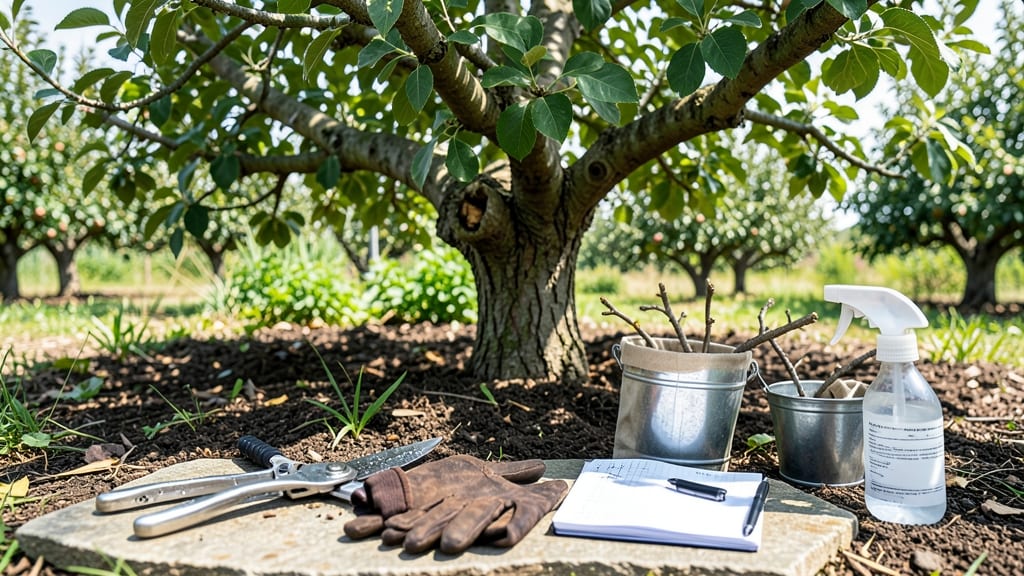
Trimming apple trees at the right time transforms weak branches into a sturdy framework that produces fruit for decades. 🌳 Late winter—when the tree is dormant but before buds swell—is the sweet spot, but regional climates shift that window by weeks.
I’ve learned the hard way that pruning too early risks frost damage, while waiting too long stresses the tree as it wakes up.
The goal isn’t just aesthetics—it’s about sunlight, airflow, and future harvests. You’ll focus on removing dead wood, crossing branches, and shaping the tree to let light reach the center.
With the right tools (sharp pruners, loppers, and a saw for thicker branches), even a first-timer can achieve professional results in under an hour.
By late spring, you’ll see new growth where you made cuts, and the tree will reward you with stronger structure and heavier fruit next season. The key is patience: don’t rush, and always cut just outside the branch collar where the branch meets the trunk.
Works for most apple varieties, though dwarf trees need lighter pruning. If you’re in a warm climate, adjust timing to avoid spring rains—wet wood invites disease. Here’s how to do it right the first time.
📚 In This Guide
- What you need
- Instructions
- Tips and common mistakes
- Wrapping up and next steps
What you need
- ● Pruning shears: Bypass pruners (for cuts up to ½ inch thick) – 1 pair (look for sharp, rust-resistant stainless steel blades).
- ● Lopping shears: For thicker branches (½ to 1½ inches) – 1 pair (pivoting anvil or bypass style preferred).
- ● Pruning saw: For branches over 1½ inches in diameter – 1 saw (curved or folding blade for precision).
- ● Gloves: Heavy-duty gardening gloves (cut-resistant, long cuffs) – 1 pair (protects from thorns and blisters!).
- ● Disinfectant: 70% rubbing alcohol or pruning sealant – small bottle (prevents disease spread between cuts).
- ● Ladder or step stool: Sturdy, extendable ladder (for taller trees) – 1 unit (ensure it’s rated for your height + safety features).
- ● Tarp or drop cloth: Medium-sized tarp – 1 piece (to collect debris and protect the ground).
- ● Sharpie or marker: Permanent marker – 1 (for labeling cuts if needed).
- ● Pole pruner: Extendable tool for high branches – 1 (saves ladder use for tricky spots).
- ● Tree wound dressing: Pruning paste – small tube (controversial but useful for large wounds; skip if your tree is disease-resistant).
- ● Work boots: Sturdy, ankle-supportive boots – 1 pair (for stability on uneven ground).
- ● Safety glasses: – 1 pair (protects eyes from debris).
- ● Notebook & pen: – 1 (to sketch your tree’s structure before/after trimming).
Step-by-step instructions for pruning apple trees in late winter
Timing matters most—here's how to trim for maximum fruit production without stressing your tree.
⏰ Step 1: Choose the Right Window After Dormancy
Prune your apple tree in late winter, ideally between mid-February and early March in most climates. This gives buds time to swell but hasn't yet burst into growth. Look for bare branches with no leaves and dormant buds that appear plump but haven't opened yet.
If you're in a warmer zone where buds swell earlier, wait until 2-3 weeks before last frost. Pruning too early risks bleeding sap loss, while waiting too long encourages early growth vulnerable to late frosts. I always check the weather forecast for a 3-day dry spell before grabbing my shears.
✂️ Step 2: Remove Dead, Diseased, or Crossing Branches First
Start by cutting out any dead wood—it's easy to spot as gray, brittle branches that snap when bent. Next, remove branches with disease signs like cankers, fungal growth, or oozing sap. Use sterilized pruning shears (wipe blades with rubbing alcohol between cuts) to prevent spreading pathogens.
Look for branches growing toward the center of the tree or rubbing against others—these will compete for sunlight and create entry points for pests. Cut these back to the branch collar, the swollen area where the branch meets the trunk. Never leave stubs, as they invite rot and disease.
☀️ Step 3: Open the Canopy for Sunlight and Airflow
Step back and visualize how sunlight will reach the center of the tree. Remove 15-20% of the tree's total branches to create an open vase shape. Focus on upward-growing branches that block light from reaching lower limbs—these are called "water sprouts" and should be cut back to a lateral bud.
Thin out branches that are too close together. You'll see thicker growth on the outside and sparser branches inside. Aim for 6-8 main scaffold branches
Cut back last year's growth to an outward-facing bud to encourage new branches that grow away from the center. For fruiting spurs (the small branches that bear apples), trim back 1/3 of the oldest woodshort, stubby branches with clusters of buds. Leave 3-4 strong branches per scaffold limb to bear fruit. Avoid cutting into the branch collar—this is where protective tissues grow to seal wounds. Make cuts at a 45-degree angle just above an outward-facing bud, about 1/4 inch
Rake up all clippings and dispose of diseased branches immediately in the trash (not compost). Sterilize your tools again with rubbing alcohol. Apply wound dressing only to cuts larger than 1/2 inchtree sealant to prevent infection. Water the tree deeply after pruning to help it recover. You'll see new growth buds swell within 2-3 weeks
🌱 Step 4: Shape for Fruit Production and Future Growth
💧 Step 5: Clean Up and Protect the Tree
Tips & tricks for perfect late winter apple tree trimming
These simple tricks will help you avoid common mistakes and get the most out of your pruning efforts.
The Timing Factor: The mid-February to early March window is ideal because it allows buds to swell without bursting into growth. If you're in a warmer climate, use the "2-3 weeks before last frost" rule as your guide—this prevents early growth that could be damaged by late frosts. I've seen trees pruned too early bleed sap like a wound, and that's exactly what you want to avoid. Trust me, the tree will thank you for patience!
Tool Prep Matters: Sterilizing your pruning shears between cuts is non-negotiable. I learned this the hard way after spreading disease to a perfectly healthy branch. Keep rubbing alcohol handy and wipe blades clean after every diseased branch. For larger cuts over 1/2 inch, use tree sealant—but only on those big wounds. Smaller cuts actually heal better on their own, so resist the urge to seal everything.
Visual Pruning Cues: When shaping your tree in Step 3, look for branches that grow straight up—these are water sprouts that block sunlight. Cut them back to a lateral bud where you want new growth to emerge. The goal is an open vase shape with sunlight reaching all the way to the center. I always step back every few cuts to visualize how light will flow through the branches after pruning.
Post-Pruning Care: Watering deeply after pruning helps the tree recover, but don't fertilize yet. The tree needs to focus on healing those cuts first. You'll notice new growth buds swelling within 2-3 weeks if you've pruned at the right time. This is your reward for getting the timing and technique just right!
Pro Tips for Apple Tree Trimming Time
- These simple tricks will help you avoid common mistakes and get the most out of your pruning efforts.
- The Timing Factor: The mid-February to early March window is ideal because it allows buds to swell without bursting i...
- Tool Prep Matters: Sterilizing your pruning shears between cuts is non-negotiable. I learned this the hard way after ...
Frequently asked questions
Got questions about the best time to trim your apple trees? You’re not alone! Here are answers to the most common concerns—so you can prune with confidence and set your tree up for a bountiful harvest.
When is the absolute latest I can trim my apple tree in late winter?
While late winter (just before buds swell) is ideal, you can trim up to two weeks after bud break—but avoid pruning during active blooming. If you miss the window, wait until summer to remove only diseased or crossing branches. Pro tip: Never trim after mid-spring, as it stresses the tree before fruiting.
What if my tree is still dormant in early spring?
Dormancy varies by climate! If your area hasn’t warmed up (avg. temps <40°F/4°C), wait until consistent daytime temps reach 50°F (10°C). Cold snaps can shock fresh cuts. Use a sharp pruner and seal larger wounds with pruning sealant to prevent disease. Watch for: swollen buds or sap flow—signs it’s safe to trim.
Can I trim my apple tree in summer instead?
Yes, but only for corrective pruning—like removing suckers, water sprouts, or crossing branches. Avoid heavy summer cuts, as they invite pests and reduce winter hardiness. If you must prune, do it after harvest (late August–September) to balance growth. Warning: Never trim during drought stress or extreme heat.
How do I know if I’ve trimmed too much?
If you’ve removed more than 25% of the canopy in one season, you’ve likely over-trimmed. Signs include stunted growth, sparse foliage, or weak fruit production the next year. Apple trees recover slowly—stick to 15–20% max per year for healthy regrowth. Fix it: Reduce future cuts and fertilize with nitrogen-rich soil amendments.
Why does my tree have weird growth after trimming?
Water sprouts (fast-growing vertical shoots) or epicormic branches (shoots from the trunk) often pop up post-pruning. These steal energy from fruit production. Remove them immediately—they’re easy to spot (thin, upright, and leafy). Prevent them: Thin the canopy in summer to improve airflow and reduce stress.
| Quick Fixes | When to Use |
|---|---|
| Pruning sealant | Large cuts (>1 inch diameter) |
| Fertilizer (balanced NPK) | After heavy pruning or weak regrowth |
| Thinning spray (if overloaded) | Post-bloom to reduce fruit stress |
Wrapping up and next steps
Trimming your apple tree in late winter is a game-changer for healthier growth, better fruit production, and long-term vitality.
By removing dead wood, shaping the canopy, and encouraging airflow, you’re setting the stage for a bountiful harvest—and it’s easier than you think! 🌱🍏 Whether you’re a seasoned gardener or just starting out, now’s the perfect time to roll up your sleeves and give your tree the care it deserves.
Ready to take action? Grab your pruning shears, mark your calendar for late winter, and start planning your tree’s transformation. Your future harvest—and your apple tree—will thank you! 🌟