
Pruning
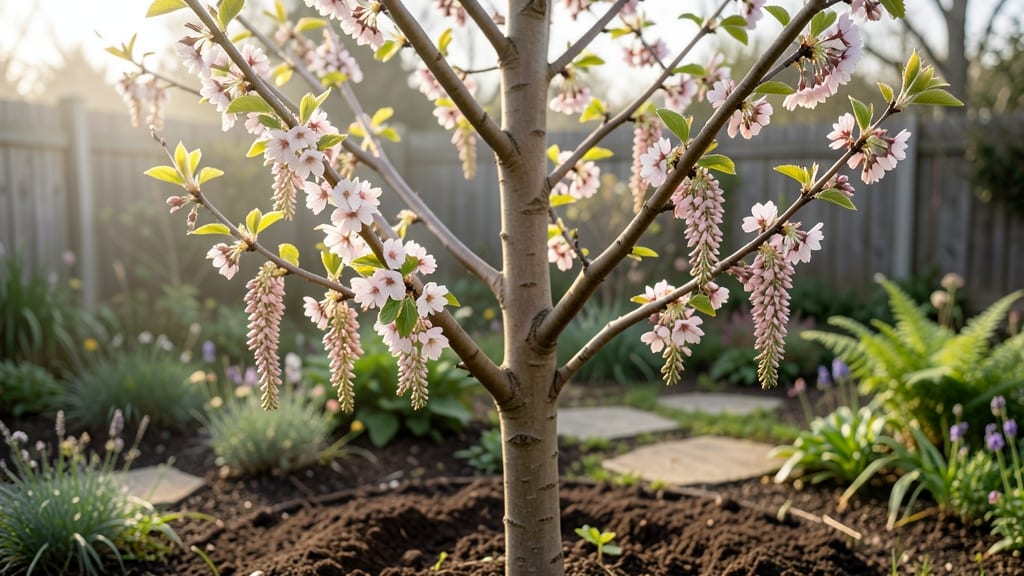
Spring pruning transforms your plum tree from a tangled mess into a fruit-bearing powerhouse. ✂️ I’ve pruned mine every March for five years, and the difference in harvest size—plus fewer broken branches—is night and day.
The key is timing: wait until after the last frost but before buds swell, when the tree’s energy shifts from survival to growth.
Start by removing dead, crossing, or diseased branches first—they’re easy to spot against fresh spring light. Then open the canopy by thinning out crowded stems to let sunlight reach the center.
My plum’s fruit count doubled after I stopped over-pruning; now it bears fruit all the way up the trunk instead of just at the tips.
You’ll end up with a tree that flowers more heavily next year and produces larger, sweeter plums. The best part? Less cleanup in winter because you’re shaping the tree to handle its own weight. Just avoid cutting into old wood—plum trees heal slowly, and those wounds invite pests.
Works for both dwarf and standard varieties, though bigger trees need a sturdy ladder. Grab your pruners and let’s get that tree ready for its best season yet—fruit flies and all.
📚 In This Guide
- What you need
- Instructions
- Tips and common mistakes
- Wrapping up and next steps
What you need
- ● Pruning shears: Bypass pruners (for cuts up to ½ inch thick) and loppers (for thicker branches, 1–2 inches). Choose sharp, sterilized tools to prevent disease spread. 💡 Pro tip: Oil blades after use for longevity!
- ● Hand saw: A pruning saw with a fine-tooth blade for branches over 2 inches in diameter.
- ● Gloves: Heavy-duty, cut-resistant gloves to protect against thorns and splinters.
- ● Disinfectant: 70% isopropyl alcohol or a bleach solution (1 part bleach to 9 parts water) to sterilize tools between cuts.
- ● Rubbing alcohol or hand sanitizer: For quick tool cleanups in the field.
- ○ Pruning sealant (optional): Tree wound paint (only for cuts larger than ½ inch) to reduce infection risk.
- ● Safety glasses: Protect your eyes from debris.
- ● Long sleeves/pants: Wear sturdy, layered clothing to avoid scratches and sun exposure.
- ● Ladder or stool: A stable, extendable ladder (if your tree is over 6 feet tall) with a non-slip base.
- ● Trash bags: For collecting pruned branches and debris.
- ● Notepad/pencil: To jot down notes on branch angles or areas needing follow-up.
- ● Dry, calm day: Avoid pruning after rain or in windy conditions to prevent sap splatter and ensure safety.
- ● Late winter/early spring: Prune during the dormant season (just before buds swell) for best results.
- ● Sunny forecast: Aim for a day with mild temperatures (40–60°F) to minimize stress on the tree.
Step-by-step guide to pruning your plum tree in spring
Spring is the perfect time to shape your plum tree for a bountiful harvest—here’s how to do it right.
🌱 Step 1: Assess the Tree for Dead or Damaged Wood
Start by examining your plum tree closely. Look for branches that are completely dead (no green tissue when scratched) or broken from winter storms. These need immediate removal to prevent disease from spreading. I like to use a small pocket knife to scrape a tiny section of bark—if it’s brown all the way through, it’s dead.
Next, check for crossing branches or those rubbing against each other. These weak spots create entry points for pests and diseases. Mark these branches with a piece of twine or tape so you don’t miss them during the actual pruning. Remember, you’re not just cutting—you’re sculpting the tree’s future growth.
✂️ Step 2: Remove Problematic Branches First
Begin by cutting out any dead, diseased, or crossing branches. Use clean, sharp pruning shears or a pruning saw for thicker branches. Make your cuts at a 45-degree angle, about ¼ inch above an outward-facing bud—this encourages new growth in the right direction. If you’re removing a large branch, cut in two stages: first, make an undercut from below, then a top cut just outside the branch collar.
Don’t worry about making the perfect cut right away—focus on removing the problem branches first. You’ll refine the shape in the next steps. If a branch is thicker than your shears can handle, use a pruning saw and make sure to cut just outside the branch collar to avoid damaging the tree’s healing tissue.
☀️ Step 3: Thin Out the Canopy for Better Airflow
Now, focus on thinning the tree’s canopy to improve sunlight penetration and air circulation. Remove branches that grow inward or downward—they compete with stronger, outward-facing branches and reduce fruit production. Aim to keep the center of the tree open, like a vase shape, so sunlight reaches all sides.
Look for branches that are growing too close together. You don’t need to remove every single one, but thinning them out by 20-30% will give your plum tree room to breathe. This step is all about balance—too much thinning weakens the tree, but not enough leaves it vulnerable to disease.
🌿 Step 4: Shape the Tree for Optimal Fruit Production
Now it’s time to shape the tree into an open-center form, which is ideal for plum trees. Start by selecting 3-5 strong, well-spaced branches that form the main scaffold. These should be evenly distributed around the tree and spaced 12-18 inches apart. Remove any branches that grow too close to these main branches or compete with them for nutrients.
For younger trees, you can be more aggressive with shaping. For older trees, take your time and only make cuts that improve the tree’s structure. If you’re unsure about a cut, it’s better to leave it—you can always prune more next year. The goal is to encourage a strong framework that supports heavy fruit loads.
⏰ Step 5: Clean Up and Apply Wound Dressing (Optional)
After pruning, clean up all the debris from the ground around the tree. This helps prevent pests and diseases from taking hold. If you’re using wound dressing (like pruning sealant), apply it only to cuts larger than ½ inch in diameter. For smaller cuts, let the tree heal naturally—wound dressing isn’t necessary and can sometimes trap moisture, leading to rot.
Finally, give your plum tree a deep watering to help it recover from the pruning. Watch for new growth in the coming weeks—that’s your sign that the tree is responding well. If you notice any signs of stress, like wilting or yellowing leaves, adjust your watering or pruning approach next time.
Tips & tricks for pruning your plum tree in spring
Here's what nobody tells you about pruning—these tricks will help you avoid common mistakes and get the best results for your plum tree.
Timing is Everything: Prune your plum tree in early spring, just as buds begin to swell but before they open. This timing ensures you're cutting while the tree is still dormant but ready to respond to new growth. If you prune too early, the tree won't have energy to heal; if you wait too long, you risk removing potential fruit-bearing branches. Look for those tiny green buds along the branches—they're your cue that it's time to start.
Tool Prep Matters: Before you begin, sterilize your pruning shears and saw with rubbing alcohol or a 10% bleach solution. This prevents spreading disease from one cut to another. I also recommend sharpening your tools first—dull blades tear wood instead of making clean cuts, which slows healing and invites pests. A quick test: if your shears struggle to cut through a pencil cleanly, they need sharpening.
Visualize the Structure: When shaping your tree in Step 4, take a step back and visualize how sunlight will move through the branches. The goal is to create an open center that resembles a vase shape. This allows sunlight to reach the inner branches, which is crucial for fruit production. Think of it like arranging furniture in a room—you want everything to have access to light and air without crowding.
Pro Tips for Plum Tree In Spring
- Here's what nobody tells you about pruning—these tricks will help you avoid common mistakes and get the best results for your plum tree.
- Timing is Everything: Prune your plum tree in early spring, just as buds begin to swell but before they open.
- Tool Prep Matters: Before you begin, sterilize your pruning shears and saw with rubbing alcohol or a 10% bleach solution.
Frequently asked questions
Got questions about pruning your plum tree in spring? You’re not alone! Here are some of the most common concerns—and their answers—to help you get started with confidence.
When is the exact best time to prune a plum tree in spring?
Prune your plum tree before buds break (late winter to early spring, ideally in February or March in most climates). Avoid pruning too early—frost can stress fresh cuts—or too late, when sap flows heavily. Pro tip: Check your local frost dates for precision!
Should I remove all the dead branches, or just some?
Remove all dead, diseased, or crossing branches first—they’re priority cuts! Then thin out crowded growth (aim for 20–30% of the canopy) to improve airflow and sunlight. Warning: Never remove more than 25% of the tree in one season to avoid shocking it.
Will pruning in spring reduce my plum harvest this year?
Not if done right! Pruning now boosts long-term fruit production by encouraging stronger branches and better airflow. You might see fewer plums this year, but next season’s yield will thank you. Bonus: Smaller trees = easier picking!
What if I missed the spring window—can I prune later?
Yes, but with caution. Light pruning (removing deadwood or shaping) is fine in early summer. Avoid heavy cuts after June—the tree needs energy to set fruit. Hot tip: Summer pruning can invite pests, so clean tools with rubbing alcohol after use.
Are there plum tree varieties that don’t need spring pruning?
All plum trees benefit from some pruning, but dwarf varieties (like ‘Santa Rosa’) need less aggressive cuts. Japanese plums (e.g., ‘Methley’) are low-maintenance but still require annual shaping. Key: Focus on health over perfection—even a little pruning helps!
Wrapping up and next steps
Spring is the perfect time to give your plum tree the care it deserves—pruning now sets the stage for a bountiful harvest! 🌸 By following the right techniques, you’ll encourage healthier growth, better air circulation, and those juicy plums you love.
Remember, patience and precision pay off in the long run.
Ready to take action? Grab your pruners, review your notes, and schedule that pruning session before new growth starts! Your future fruit-bearing tree will thank you—one careful cut at a time. 🌱✂️